The remarkable Fuzeblock has these great features:
*** Easy to install
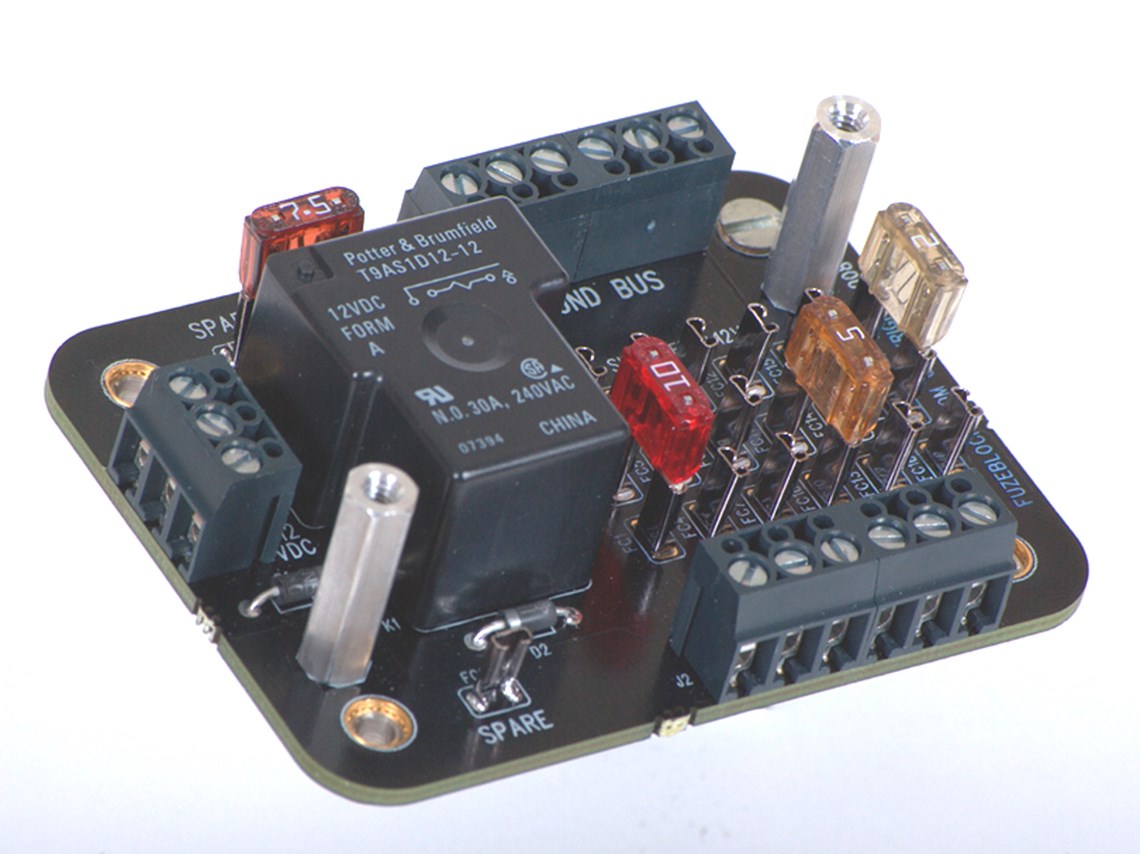
*** Built-In relay
*** Thick circuit board
*** Compact Size
*** No crimping
*** Ground Bus
*** 6 fused circuits
*** Power selection
*** Power protection
*** Spare fuse holders
*** Mini (ATM) Fuzes
*** Weather resistant
*** Markable Label
*** 95-5VA ABS Cover
*** Mounting options
Measures:
L 3.25 x W 2.5 x H 1.25
***CanBus compatible***
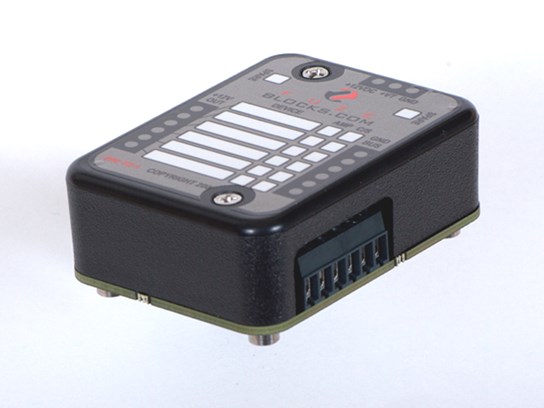
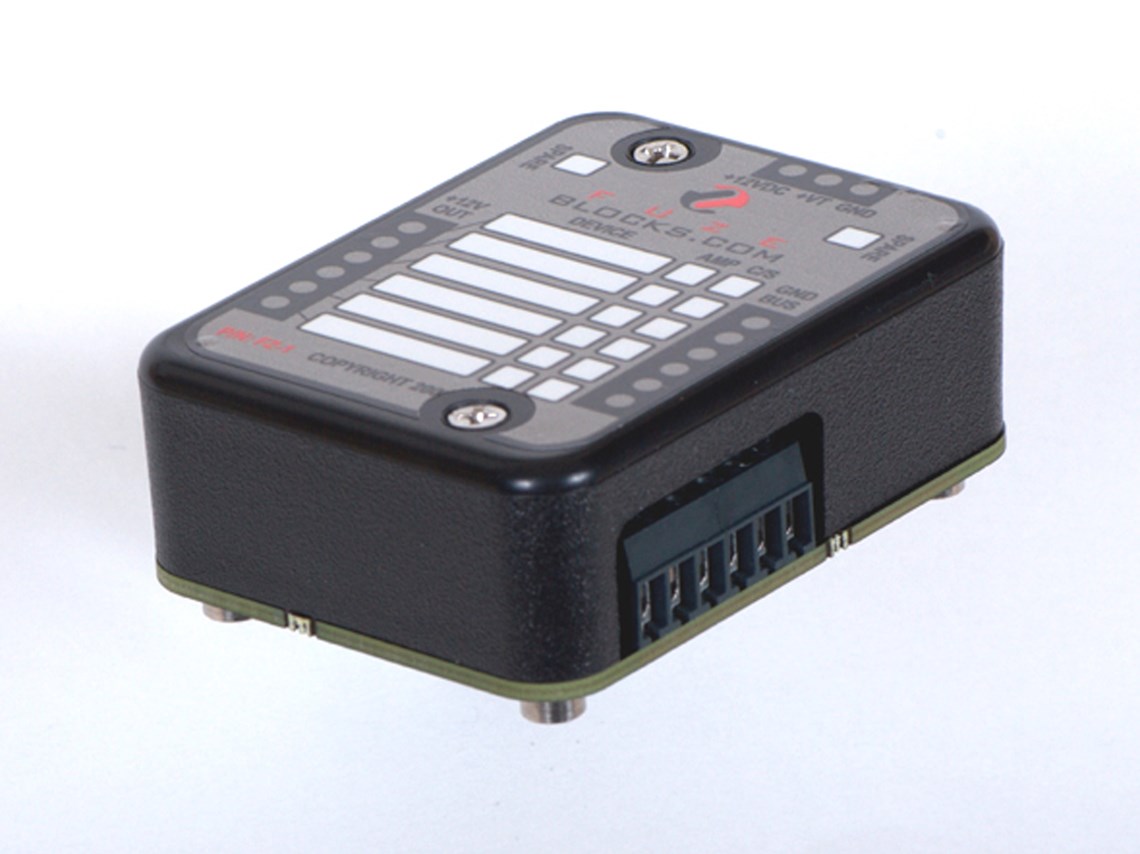
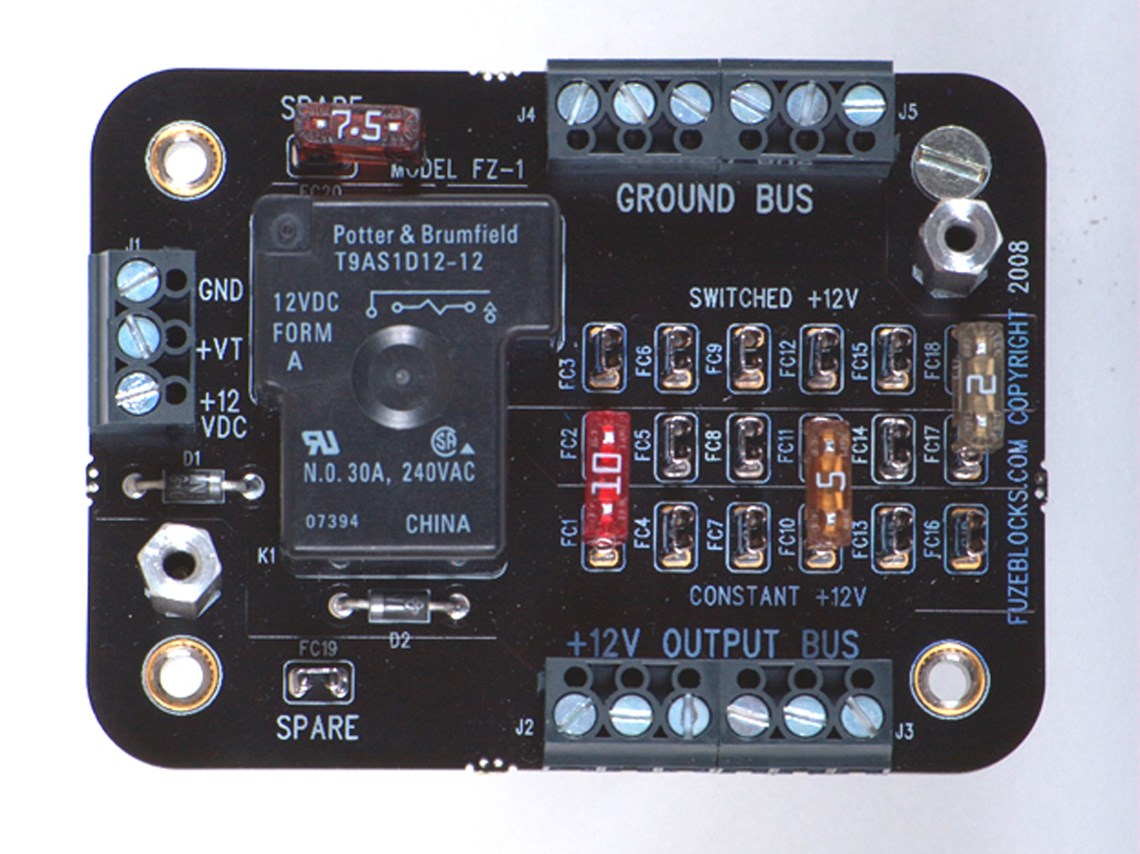
Fuzeblocks Inc. has designed a fuse block that is easy to install, fits into a small space and provides a built in relay which offers the choice for any device to be switched on and off automatically with the vehicle or be powered constantly.
The FZ-1 installation requires no crimping and all connections are made by heavy duty screw terminals that can accomodate up to 12 AWG wiring. All the FZ-1 needs is +12VDC, ground and a switched trigger to make it fully functional. Then connect devices to the FZ-1 selecting constant or switched power for each device. The unique board layout provides six individually fused circuits that can each supply constant or switched power depending on your needs. Check out all the features the FZ-1 has to offer and we think you'll agree that it makes easy work of wiring aftermarket accessories on your vehicle.
Normally to have switched and constant power, for your motorcycle accessories, requires two fuze blocks. One is wired directly to the battery for constant power and the second fuse block is wired through a relay battery for switched power. The FZ-1 eliminates the need to wire two seperate fuse blocks by providing both types of power in one unit. It reduces the wiring by more than half and allows you to select what type of power you want for each output. The FZ-1 is easier to install, reduces the amount of wiring time required and does it in a neat little package. The unit is great for experts who want to simplfy their install and for novices who are electrically challenged.
INSTALLATION
The FZ-1 one was designed to make installation simple and quick. The FZ-1 uses screw terminals for all its connections so that it requies no crimping to install. The installation is as simple as 1-2-3.
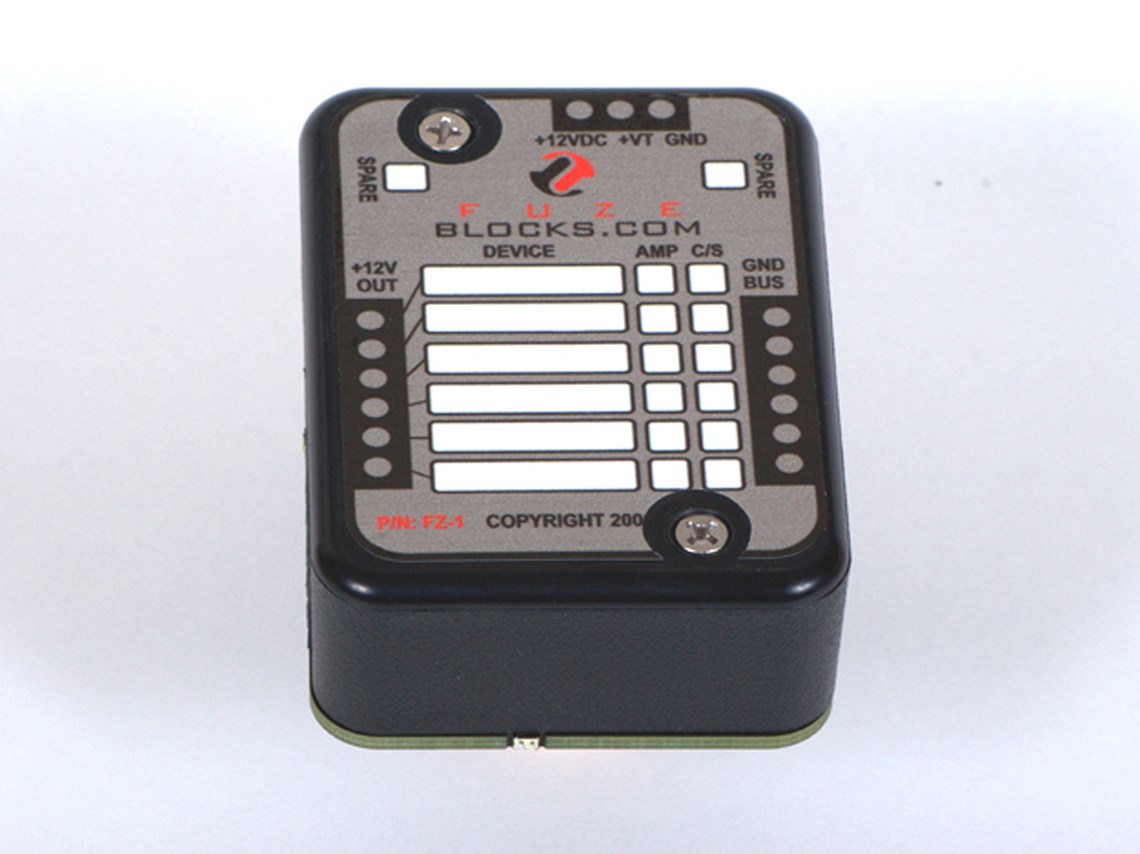
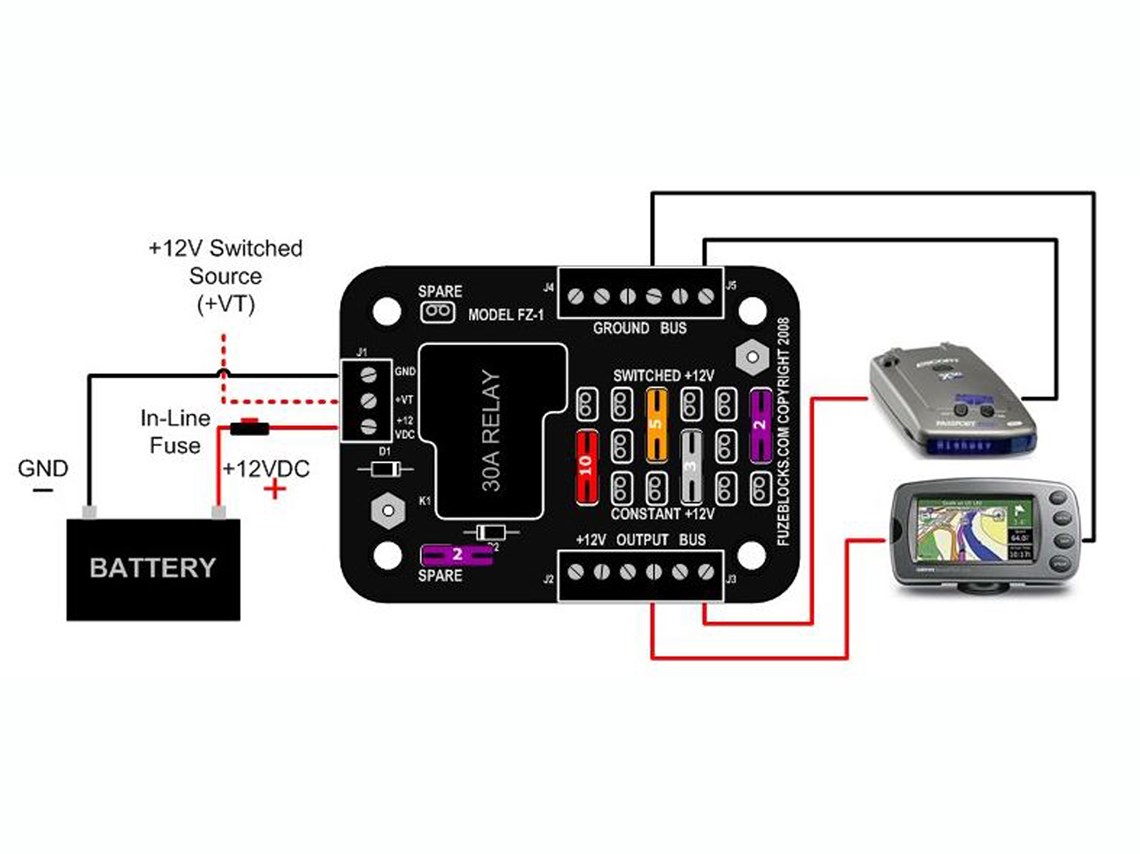
Connect battery power, ground and a switched source to the FZ-1 input terminal.
Connect your device's power and ground wires to the FZ-1 +12V output bus and ground bus terminals respectively.
Insert a fuse in the constant or switched power position for the output connected to your device. You're done. That's it. Ok, so maybe I condensed the installation a little but you get the idea.
You can download the installation document in PDF format.
WIRING TIPS AND OTHER INFORMATION:
How much power do I have?
Before mounting accessories you have to understand how much power your bike's alternator produces and how much of that power is available for you to use. Every bike produces a different amount of power and each bike needs a certain amount of that power to run the bike. Once you subtract the amount of power needed to operate the bike from the total amount of power produced you'll have the maximum amount of power available for accessories. You can usually find out how much power is available for a specific motorcycle by checking online forums having to deal with that bike. Some manufacturers will release this information but often they only give the maximum power generated and not the amount consumed by the motorcycle's operation.
Manufacturer's may give this in amps instead of watts. Amps is the measure of current and watts is the measure of power. Current is the movement of electrons like water moving through a pipe. Power is like electrical pressure or how much energy can be produced by pushing water through the pipe. Volts, amps, and watts are all linearly related and easy to calculate. If you have two of the three you can calculate the other. Since the voltage is usually +12V you can calculate watts from a amps. Watts is volts times amps. This means that if your alternator produces